Showing posts with label ARTY - FARTY. Show all posts

17 Sept 2018


Started this on a day I was feeling very optimistic. Think it was the full night sleep I had got after about 4000 years.

Its based off the illustration by – https://www.instagram.com/etcdrawings/

Although the feeling wore off pretty quickly, looking at this sketch makes me happy.

Ooh …and I coloured this on my phone too. With my finger…!!! App called – Recolor!

How cool is that.


And then...you add that JAZZ.....


DOODLE FUN


Making things with your hands is immensely joyful for me. Almost therapeutic (this does not apply to cooking),

Recently I have taken to drawing in a little sketch book I am trying to take along everywhere.

It should have been filled with sketches by now. But usually I just forget that it’s in my bag. 

On one of the encounters  with my sketchbook, I started upon this doodle inspired by one by a fellow Pinterest-ian.


A quick session of colouring on RECOLOR.......and I am happy with it. :)


It’s a simple design but still looks intricate. Loved doing this one.

For ages, My sister has been on my back, (I think, mostly to encourage me to do more art), to make something that she could hang in her home. For years I have been dodging it.

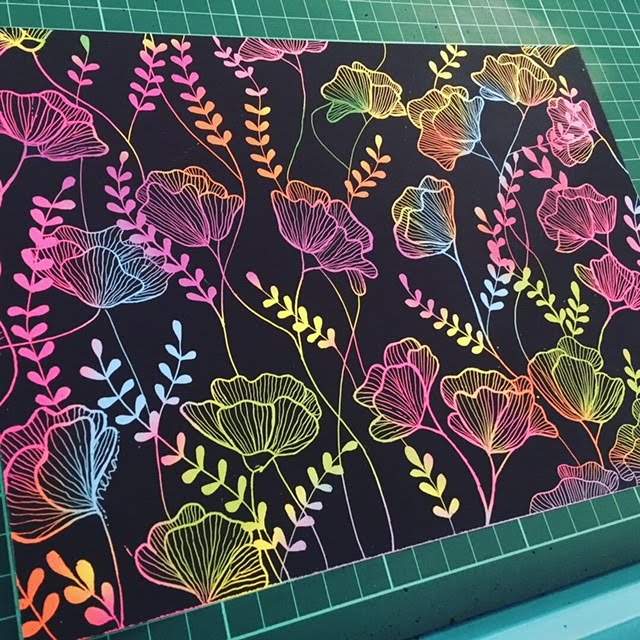
She recently commented on how much she was loving the scratch paper patterns. Which gave me an idea and I started this piece for her.

She loved it. Hell! I LOVED it. 


Already looking beautiful.....if I say so myself!


I am seriously addicted to this Scratch art paper!!!!!!


3 May 2018

SCRATCH ART


A couple of months ago Tigerlily went to a friend's craft-themed birthday party. And came back with this amazing thing that just wow-ed me!
It was a pink, foam sheet crown for the kids to decorate, as they wished, by just scratching the surface of the foam. I was as smitten with it as my 5 yr old!!
Ever since, I was planning to get Tigerlily some sheets of this amazing paper (she is a craft-lover).

I didn't find the exact foam type sheets, but got a bunch of black coated scratch papers on Amazon.com. Although I told Tigerlily they were for her to explore, I was not one bit hesitant on jumping on the fun.... :D


  Once I started, I just couldn't stop. It is so addictive! Watching the pattern emerge as you make scratches on the surface.
What I learned, and the hard way, you can not undo any mistakes on this. Once you make a mark, it stays!


There is a variety of Scratch Art paper available. I got the rainbow background ones. There are also some with single colour backgrounds. With foil backgrounds, and some even with glitter backgrounds!


Watch this space for more of Scratch Art!!!!!!


6 Aug 2017

BFFs....

Its friendship day today!
So here is a toast to best friends forever.......


17 Feb 2017

MIDNIGHT INSPIRATION


I have recently started to seriously try my hand at doodling ethnic patterns. And realised, it did come quite naturally to me. Even so, self doubt prevented me from creating anything major. It was only after I received a lot of positive feedback on my previous doodle, that I decided to make something for a friend as a present.
And so, on one of those sleepless nights, i just took a canvas and started drafting and inking the bits.

Thank you AM for your encouraging words, and for not letting me give up. :)
This one is for you!


10 Feb 2017

HOMEMADE FUN. THANK YOU AMAZON!


Ok, so you've just received a massive delivery from Amazon. Precious cargo unpacked and put away. What do you do with the box? What indeed.

This is where you really need to start thinking INSIDE the box. How big is it. What can it hold. What can it pretend to be. Depending on the size of it and the inclinations of your child, it can become a dollhouse, a miniature dinosaur forest (oooh, another project coming up), a wagon ... or maybe, just maybe... a full-size bus? Big enough to get into and drive away?

Here's what my kiddo made, with help from adults of course. What fun it was to make and what fun she had for days after - pretending to be the bus driver, fashioning tickets out of little cards and taking us to imaginary destinations. Pure unadulterated fun. And not a penny spent! (Big tick on environmental friendliness too ;))


20 Nov 2016

THEN I LOOK AT YOU...AND THE WORLD IS ALRIGHT WITH ME....

Title - Its a lovely day by Bill Withers.


Such a beautiful song....an instant pick me up! And its stuck in my head! Which is not a bad thing at all.

Starting my maternity leave a week earlier than I had initially planned, its been 2 weeks since I have been home. The intent was to rest a little. A tiny little bit. And that is exactly what i have not had. No one to blame but myself!! 
Trying to make the most of the ''nesting'' period/ instinct/Syndrome (?), I have been trying to arrange and rearrange all the cupboards, the pantry, kitchen, the guest bedroom.......
And i still don't have anything to show for it!!! Because I am not yet satisfied with the arrangements. 
Sigh....

Hopefully the coming few weeks will be better.  And i will actually let myself relax a little bit.

Some doodling to start the process.


14 Jun 2013

Birthday Greetings...

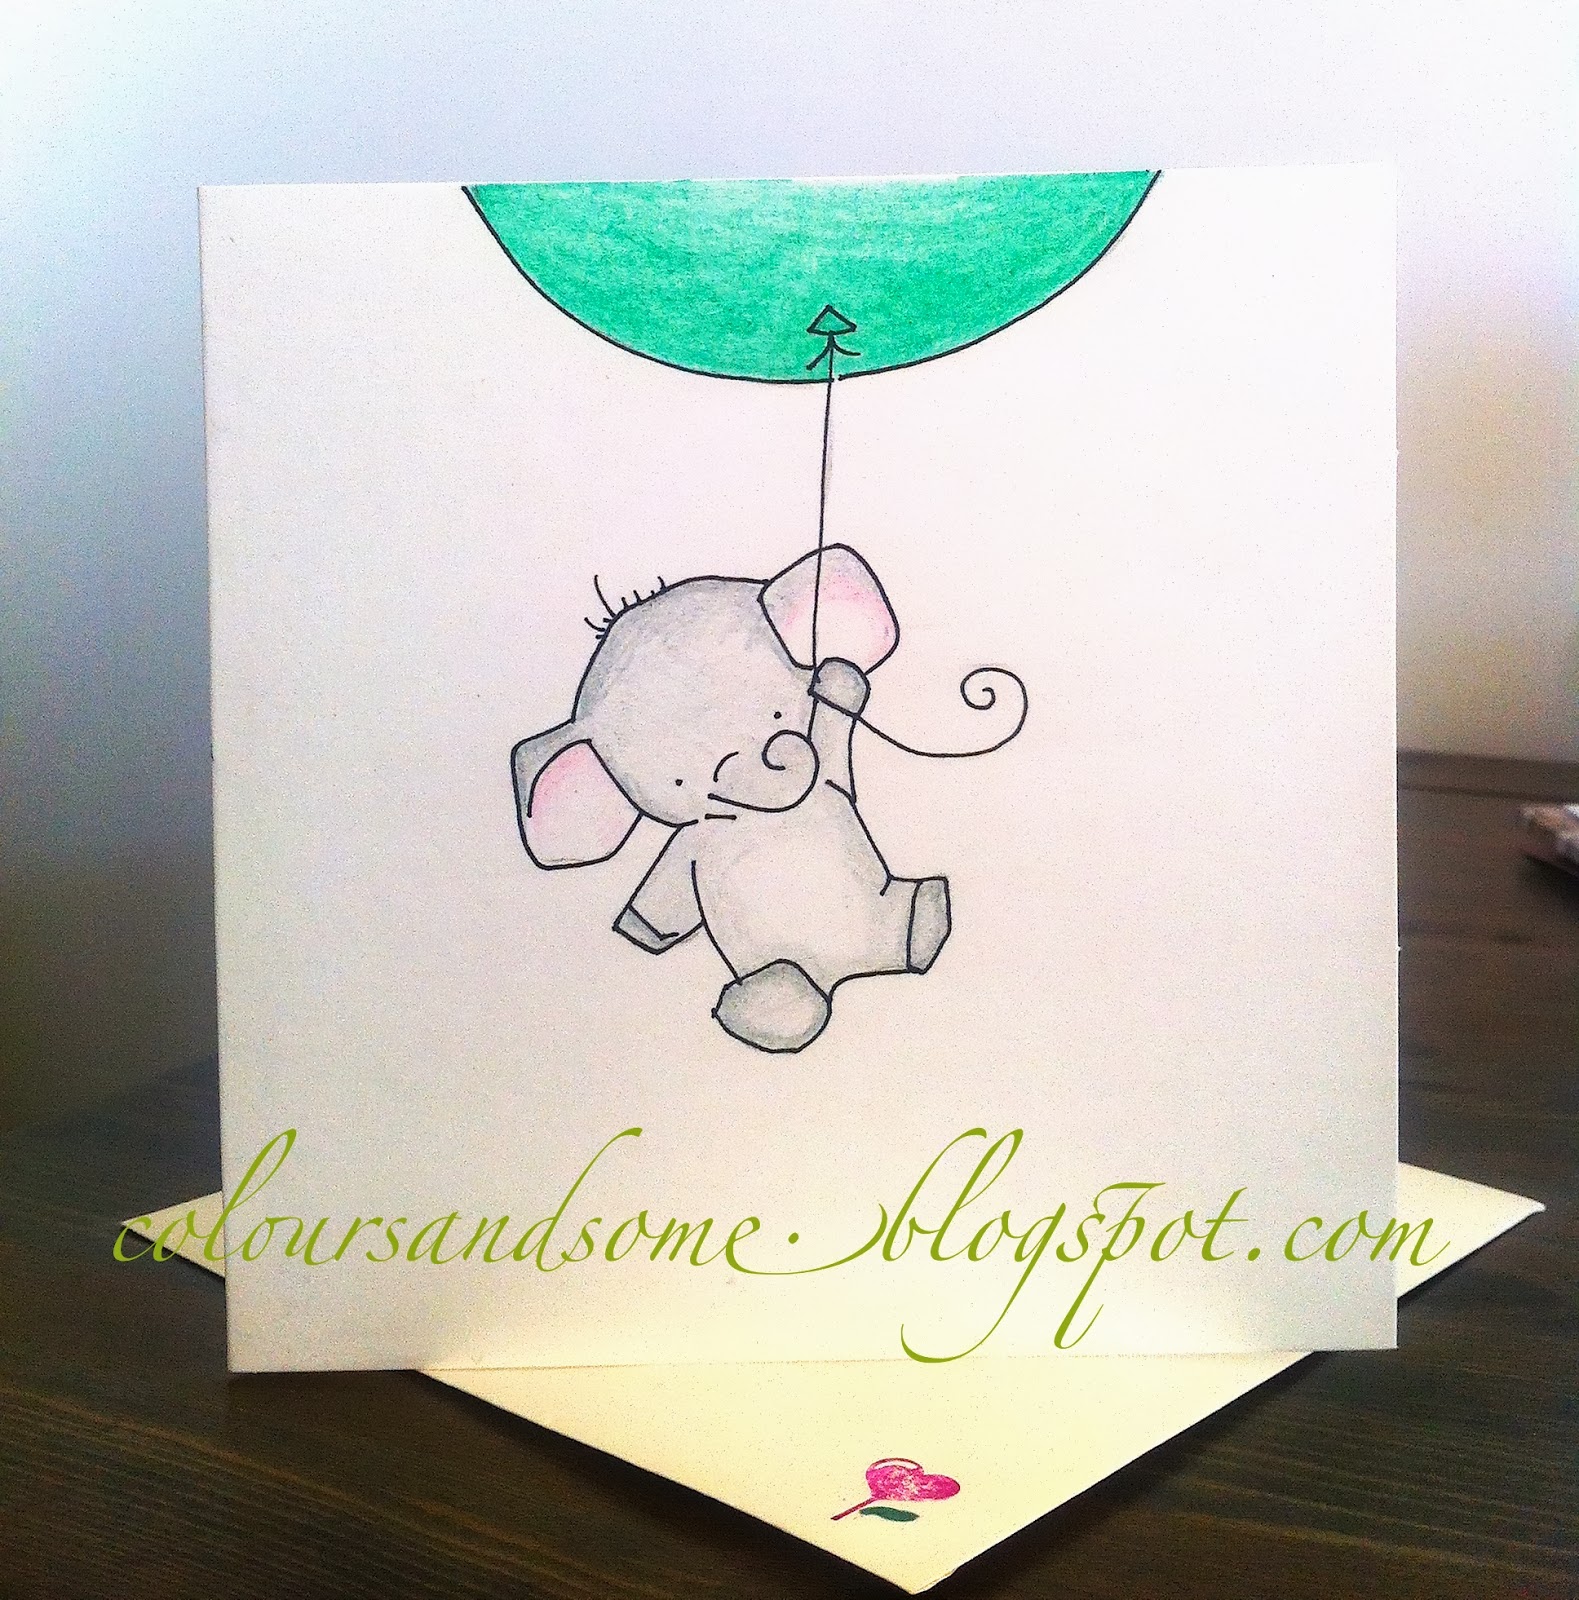
A very special little girl, recently turned 1 !! Here is a little nursery themed card made for her.


(Fiber tip pen and pencil colours)


Wishing the best of everything for our ''bubble'' of joy !


22 Jan 2013

2013 : New Year Favors


I had been wanting to make these for a very long time. Really very long time. But although inspiration was there....motivation was lacking. But with my new found enthusiasm for craftiness, I seized the opportunity to make these fabric flower headbands for a couple of very special little girls I know.
I have used an old denim here. But these will look pretty in any fabric.
Here is how it goes.

You need:

1. Fabric of your choice.
2. Scissors.
3. Matching thread and needle / hot glue gun. (I don't own a glue gun, so went with needle thread)

The How To:

1. Start with tracing out circles on your fabric. You will need 4-5 circles per flower. Remember the size of the circle is the size of the flower you will get. So choose your template wisely. I used an empty reel of cello-tape.

2. Take one circle and fold in half (image 2). And again, fold in half to get a quarter circle. Repeat with other circles (image 3).


3. Repeat for another 4 circles. So you have 5 quarters with you.

4. Stitch together 4 quarters to make a circular base (image 4). Now you CAN stop here, and finish of your flower with a cute button or embellishments in the centre. Hot glued or stitched. Or, you can proceed to step 5.


5. Add the last quarter in the centre for a more fuller looking flower.

And you are done !!!! Flower 1 ready....

Now repeat. Repeat. Repeat. And then repeat some more. These come together so quickly, its darn addictive.


I decided to stitch them on to some elastic headbands. And then Put them in brown paper-stapled-together bags. Each bag then got a neat tag made of salt dough (i love that stuff btw). 


Stitch them on headbands. Or glue them to hair clips. Or to pins to use as brooches...the options are limited only by your imagination.
Now, lets go and decorate some pretty heads!!


21 Dec 2012

Wee footprints...

Like most new parents, we have been planning to get a print / scan of our DD's wee feet and hands.  But once the scanner broke down. And the other time DD was just too restless to stay still.
Neither of us were too keen on trying the ink version. Or maybe I was just lazy to go out and buy a kit.
Which turned out to be a good thing. Since, it led to me making this home made version. Which I absolutely love.

Found a very simple recipe for salt dough impressions on Anna's The Imagination Tree which had me reaching for my supplies immediately. Before DD grew another inch!!
All you need is equal portions of salt and dough and warm water to knead it through. Mould or take impressions on it. Air dry or bake on low heat. And you are done. 


Here is what I did. You will need :
  • 1/2 cup plain flour
  • 1/2 cup table salt
  • 1/4 cup warm water
  • a calm baby

Procedure :
  • You start with giving your bub a big squeeze.....and a little cuddle. Because you want to. Then you leave them down to entertain themselves.
  • While you go mix flour, salt and water to make a soft dough.
  • Come back to give bub another cuddle, a kiss, another squeeze. Because ofcourse you can not resist.
  • Preheat the oven at 100 deg. F.
  • Flatten the dough against a smooth plate. It should be big enough to accommodate baby's foot/feet.
  • Get your cherub. Press one little foot on the smoothened side of the dough to get an impression. (You will need help with this step. Somebody to hold the baby, while you take the impression)
  • If you want to hang the impression, this is when you make hole/s in the dough. I used a chopstick to create a single hole on the top.
  • Give a quick kiss to the baby and put the imprinted dough onto parchment paper and pop it in the oven for 3-4 hours. Check on it after 2 hours, and if you think the underside is not dried properly, flip the cast. 
  • You can also, instead let it air dry for 2 days to get the same results....but can you really wait that long!
  • You might need to keep it for additional 2 hour to bake/dry the underside.
  • Remove from the oven once done. Let it cool. Colour if you fancy. Set it with a layer of sealant like Mod Podge. I decided I liked the look of it 'au natural' so no painting for me. Just a couple of layers of Mod Podge.
  • Name and date it. Thread a ribbon through. And viola...its ready.
  • Sit back and enjoy your baby and your DIY footprint.


What I learned in the process :
  • Honestly, do NOT increase the temperature to speed up the process. It will end up cooking and fluffing up the dough. The idea is to dry it. I tried to do it, and the result it is a risen underside of the cast.
  • The thinner the dough is rolled, the better and evenly it will dry. Will be doing that next week for the hand print.
Would be such a great idea to this for every year and watch those tiny feet grow....


23 Nov 2012

DIY Knotted Headband

Dressing up little girls is always a very joyful experience. It doesn't matter then if they just a few weeks old. So, as soon as my cherub arrived, I started dreaming about accessorising her wardrobe.
The idea of making something by myself was extremely appealing. Although knowing my limited sewing skills, I decided to start small. 
With something simple. Like a headband. 
And so began the hunt for the easiest DIY tutorial. It was on the Google images that i stumbled upon this picture of pretty baby with a very very desirable headgear. And it lead me to this amazing woman's website http://www.lovestitched.com .


She has a very easy to follow step-by-step pictorial instructions. Although she does suggest to measure the headband a little smaller than the head as the jersey material invariably stretches.
Avital instruction if you want a well fitted headband. An instruction that I did not pay serious attention too. And now I have to wait for my baby's head to grow into it. 


Brittay of http://www.lovestitched.com has made some of these in dual colours, which are absolutely adorable. Will be trying that soon. 


12 Feb 2011

Sisters

Anyone who has a sister, elder or younger, knows exactly how therapeutic they can be.
Although me and my sis don't get to talk as often as I would like, but whenever we do its just the best part of the day. For some reason was missing her extremely today. But she is away on a holiday with her husband and don't want to disturb them on this much deserved break.
Made this for her. She had this white frock with big polka dots when she was 4 - 5 yrs, which she absolutely loved. She would wear it as often as she could. It was later passed on to her dolls. And is now safe with mum. Sis won't let her give it away. (It is still in pretty good condition.)

Oh! I wish this was ready for her birthday which was a couple of months ago. I guess the arrangement can still work :P


To my ally, my support, my entertainment, my critic, my fan, my best friend...
life was boring before you came along. This one is for you.

Although we are both now all grown ups (atleast pretend to be), I shall always remember us like this.
Loads of love to you.